
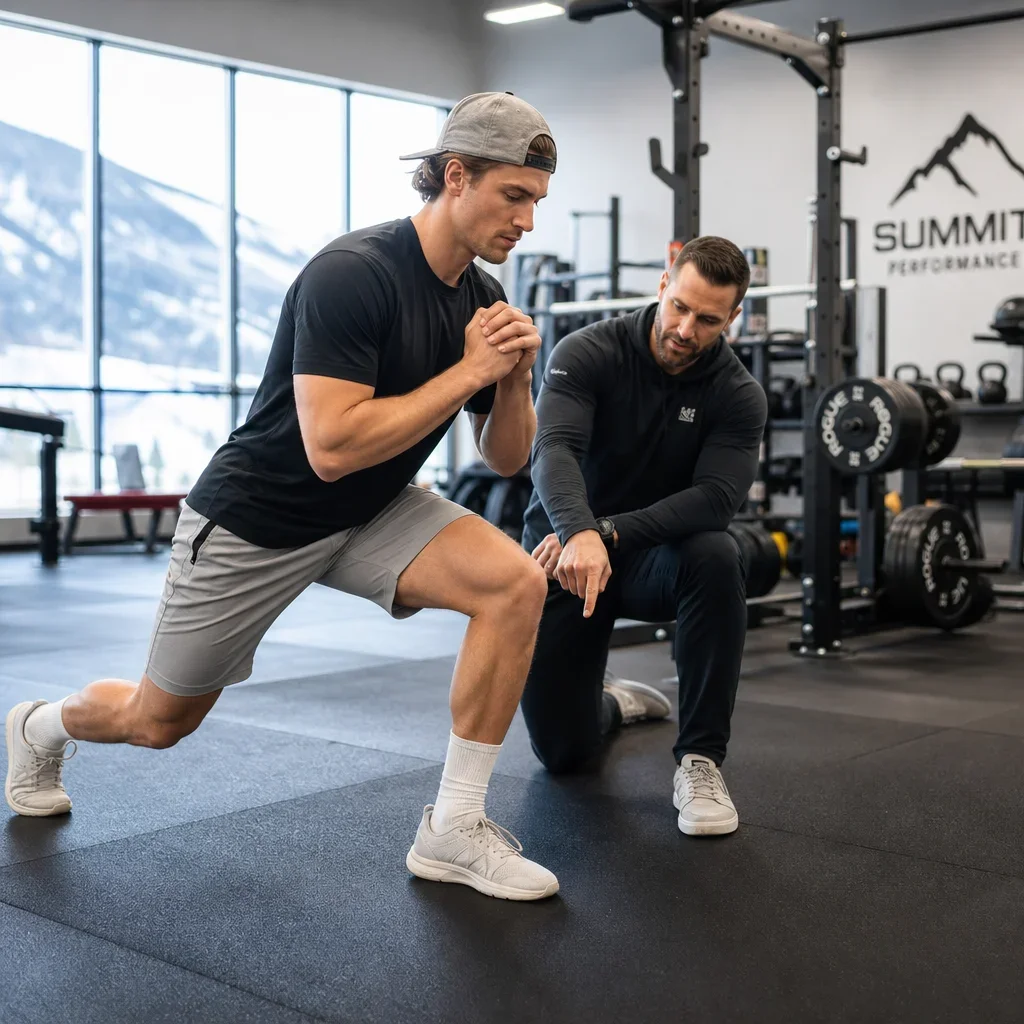
Knee strengthening for skiing is not just a harder leg day. Skiing loads the knees through repeated flexion, braking, edge control, single-leg balance, and rotational stress, especially when fatigue sets in. This guide covers how to build strong knees for skiing with a practical plan, home and gym options, and clear advice if you already have knee pain. It is general education, not a diagnosis or a personal treatment plan.
Why skiing is hard on the knees
Skiing stresses the knees because the sport combines repeated knee flexion, deceleration, rotational force, uneven terrain, and single-leg loading in one session . The knee does not work alone in that demand. Hip strength, ankle mobility, trunk control, and balance all affect how force moves through the joint . That is why ski knee injury prevention starts above and below the knee, not only at the knee itself.
Awkward twisting falls, catching an edge, skiing tired, and losing alignment under speed all raise knee stress . Good training lowers risk and improves tolerance, but it does not guarantee you will avoid injury. The goal of knee injury prevention skiing is better control, better force absorption, and fewer weak links when the slope gets variable.
Can you ski with weak knees or knee pain?
You may be able to ski with weak knees if symptoms are mild, stable, and improve with warm-up, but swelling, giving way, locking, or sharp pain need assessment first . A practical green-yellow-red screen helps. Green means mild discomfort, no instability, no locking, and no swelling after activity . Yellow means pain on stairs or squats, recurring swelling, confidence loss, or a recent flare-up that has not settled . Red means major swelling, inability to fully bend or straighten, clear instability, acute injury, or trouble bearing weight .
Weak knees usually mean a gap in strength, control, mobility, or rehab completion rather than a knee that is simply “bad” . If you are asking can you ski with weak knees, start by checking whether the knee tolerates daily tasks, bodyweight squats, step-downs, and balance work without worsening later that day or the next morning . If symptoms are worsening or the knee feels unreliable, book an assessment before pushing ski volume.
The muscles and movement patterns that protect your knees while skiing
The best knee strengthening for skiing targets quads, hamstrings, glutes, calves, and core because each one controls a different part of ski posture and force transfer . Quads help you hold a flexed stance and absorb load. Hamstrings help slow the leg and support joint control. Glute max and glute med help prevent the knee from collapsing inward during turns, landings, and single-leg moments. Calves and ankles help you respond to terrain. Core control keeps trunk motion from spilling down into the knee.
The key movement patterns are squat, split stance, single-leg control, lateral movement, rotation control, deceleration, and landing mechanics . Generic gym work misses that if it only trains straight up and down. Ski knee exercises should teach you to control speed, stop force, and stay aligned when one side works harder than the other.
Best exercises for knee strengthening for skiing
The best knee strengthening exercises for skiing are the ones you can do with good form, then progress over time. For strength work, start with 2 to 4 sets of 6 to 12 reps . For holds, use 2 to 4 sets of 15 to 45 seconds . For balance drills, use 2 to 4 rounds of 20 to 45 seconds per side . For beginner plyometrics, keep volume low at 2 to 4 sets of 3 to 6 reps .
1. Sit-to-stand or squat
This builds quad strength and teaches controlled knee flexion for ski stance. Sit back to a chair or lower into a squat, keep pressure through the mid-foot, and let the knee track over the foot . A common compensation is the knees collapsing inward or the chest dropping too far forward . Use a chair for an easier version. Add load or a tempo pause for a harder version.
2. Split squat or reverse lunge
This builds strong knees for skiing by training each leg separately and improving pelvic control. Start in a split stance, lower straight down, keep the front knee aligned over the foot, and drive through the front leg to return . A common compensation is shifting too much onto the back leg or letting the pelvis twist . Use a supported split squat hold to make it easier. Add dumbbells or increase depth to make it harder.
3. Step-down
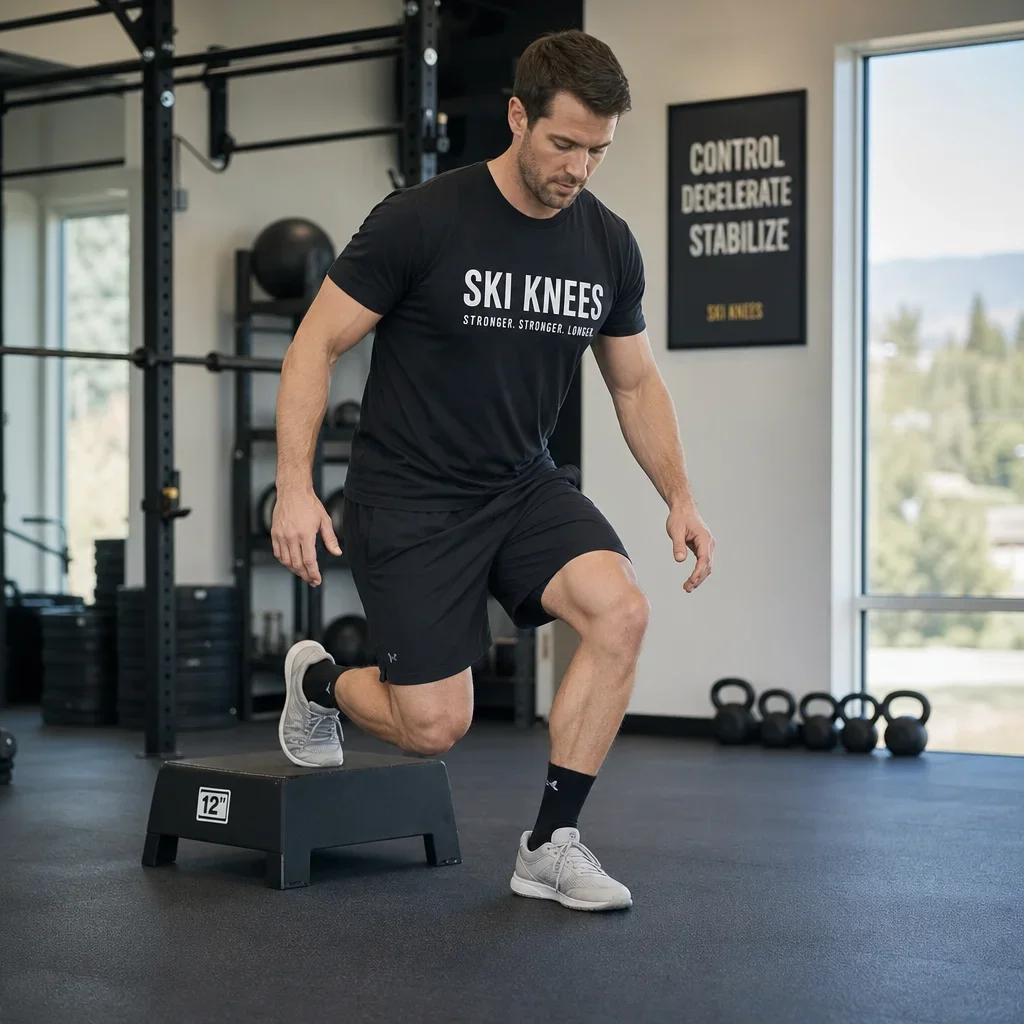
This is one of the most useful ski knee exercises because it trains deceleration and single-leg alignment. Stand on a step, slowly lower the free heel toward the floor, then return without dropping the pelvis . A common compensation is the knee diving inward or the hip hiking on the standing side . Use a lower step to start. Add load or a slower lowering phase when control is solid.
4. Single-leg squat to box
This improves knee stability for skiing because it forces control through the foot, hip, and trunk at the same time . Reach back to a box or bench, tap lightly, and stand without collapsing inward . A common compensation is twisting the trunk or losing foot pressure . Use fingertip support for an easier option. Lower the box or add load for a harder option.
5. Glute bridge or hip thrust
This targets glute drive, which helps control femur position and reduce unwanted knee collapse . Lift the hips by squeezing the glutes, keep ribs stacked, and avoid arching through the low back . A common compensation is pushing with the back instead of the hips . Use two legs to start. Progress to single-leg bridge or loaded hip thrust.
6. Banded lateral walk
This builds lateral hip strength for edge control and valgus control. Place a loop band above the knees or at the ankles, soften the knees, and step sideways without letting the pelvis sway . A common compensation is dragging the trailing foot or standing too upright . Reduce band tension to make it easier. Add a deeper athletic stance to make it harder.
7. Calf raise
This supports force transfer and ankle stiffness control on changing terrain. Rise through the forefoot, pause at the top, and lower fully under control . A common compensation is rushing the lowering phase or rolling off the big toe . Use both legs first. Progress to single-leg calf raises.
8. Plank, side plank, and dead bug
These core exercises support knee safety in skiing by improving trunk stiffness and reducing unwanted motion under fatigue . Hold a plank with ribs down and glutes lightly on, hold a side plank without sagging, and move slowly in dead bug while the low back stays quiet . A common compensation is holding the breath or arching the back . Start with shorter holds and stable versions. Progress by extending lever length or adding movement.
9. Single-leg balance reach
This improves foot, ankle, hip, and trunk coordination in one drill. Stand on one leg and reach the free leg or hand in different directions without losing alignment . A common compensation is gripping with the toes or rotating the pelvis too much . Hold a support if needed. Progress by adding a foam surface or longer reaches.
10. Snap-downs, jump-downs, and skater hops
These help prevent ACL-type mechanisms by teaching controlled landing and deceleration, not by guaranteeing protection . Drop into an athletic stance quietly, land with knees over feet, and stop the motion cleanly before the next rep . A common compensation is loud landings, knees collapsing inward, or losing trunk control . Start with low contacts and simple directions. Progress to lateral skater-style hops and stick the landing each rep.
A 6- to 8-week preseason ski knee plan
A useful pre-season workout for ski knee injury prevention usually starts 6 to 8 weeks before ski season, done 2 to 3 times per week for about 20 to 40 minutes per session . If you already have pain, stay longer in the early phase. If you already have a strength base, move faster but keep quality first.
Weeks 1 to 2: Foundation
Build mobility, basic strength, and control. Use a 5 to 10 minute warm-up , then 3 to 4 strength drills, 1 to 2 balance drills, and basic core work . Good choices are sit-to-stand, split squat hold, bridge, calf raise, band walk, and single-leg balance.
Weeks 3 to 5: Strength and single-leg control
Add range, then load, and then more challenging single-leg work. Use squats, reverse lunges, step-downs, hip thrusts, side planks, and single-leg balance reaches . If pain stays mild and settles within 24 hours, keep progressing .
Weeks 6 to 8: Power and on-snow transfer
Add controlled deceleration and low-level plyometrics after about 3 to 4 weeks of mobility and strength work . Use snap-downs, low jump-downs, skater hops, and quicker lateral drills with low volume and clean landings . Keep one or two heavy strength movements in the plan so power work does not replace your base.
In-season maintenance
One to two short sessions per week can maintain gains while you ski . Keep a strength movement, a single-leg movement, core, and one landing or balance drill. Reduce gym volume if you are skiing hard that week.
Home workout vs gym workout: knee strengthening for skiing at home

Knee strengthening for skiing at home can work very well if you build progression into simple exercises. The minimum useful equipment is a loop band, a sturdy step, a chair or bench, and optional dumbbells .
Home session
Use a 5 to 10 minute warm-up , then do sit-to-stand, split squat hold, step-down, glute bridge, banded lateral walk, calf raise, side plank, and single-leg balance reach . If you have no step, use a stair. If you have no band, slow the tempo and add pauses.
Gym session
Use goblet squat, reverse lunge, loaded step-down, hip thrust, calf raise, cable or band anti-rotation core, and controlled jump-downs . The gym version makes progression easier because load is easier to measure, but the movement goals stay the same.
Mobility that helps knee mechanics for skiing
Knee mobility exercises matter less than ankle and hip mobility for most skiers because limited motion there can push extra stress into the knee . Limited ankle dorsiflexion can change squat depth, force you to lift the heel, or shift the knee path under load . Hip stiffness can reduce clean alignment in split stance and turning positions. Thoracic stiffness can change trunk position and affect how force stacks through the lower body.
Use 1 to 3 sets of 5 to 10 reps or 20 to 45 second holds for mobility work . A simple sequence is ankle rocks, calf mobility, hip flexor stretch, adductor rock-backs, and thoracic rotation . Mobility supports mechanics, but it does not replace strength and control work.
Warm-up before ski training and before skiing
A good ski warm-up takes about 5 to 10 minutes and should raise temperature, loosen stiffness, activate key muscles, and rehearse the positions you want. Start with brisk walking, cycling, or stairs. Then add ankle and hip mobility, mini squats, lateral steps, and a few practice landings or quick athletic drops .
An on-hill version can be even simpler. Walk briskly in boots if possible, do ankle pumps, bodyweight squats, hip swings, and a few controlled side-to-side weight shifts before the first run . Warm-ups help with stiffness and movement quality, but they are not a substitute for proper training.
How to progress from beginner to advanced safely
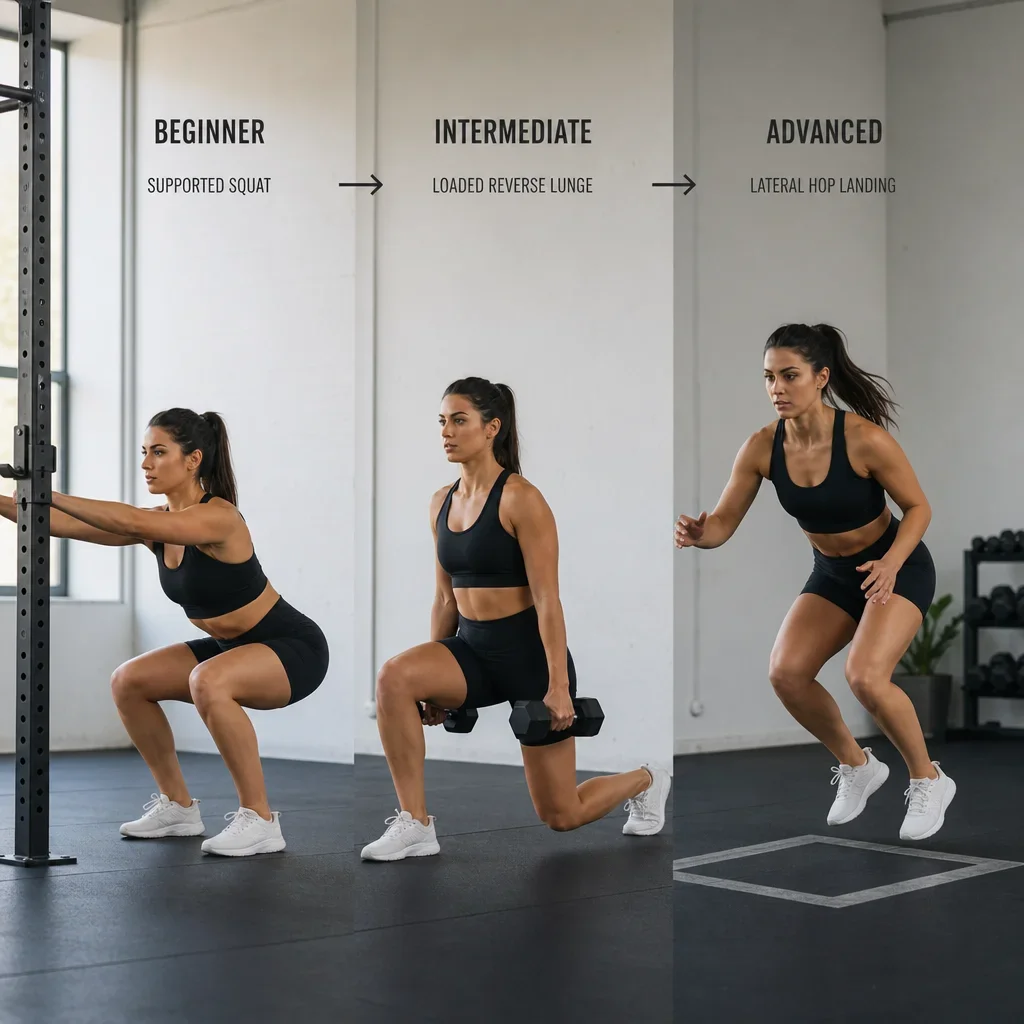
The right way to progress is range first, then load, then speed, then complexity . That is how to strengthen knees for skiing without jumping too fast.
Beginner
Use supported squat, split squat hold, bridge, band walk, calf raise, dead bug, and balance work near support . Stay here if pain is present, confidence is low, or control is inconsistent.
Intermediate
Use loaded squats, reverse lunges, step-downs, single-leg bridge, side plank, and controlled jump-downs . Move here when the knee handles basic work without delayed flare-ups.
Advanced
Use Bulgarian split squats, single-leg squat variations, lateral bounds, skater hops, and higher-demand deceleration drills . Move here only if landing quality, confidence, and control stay clean under speed.
Landing, deceleration, and balance drills for ski injury prevention
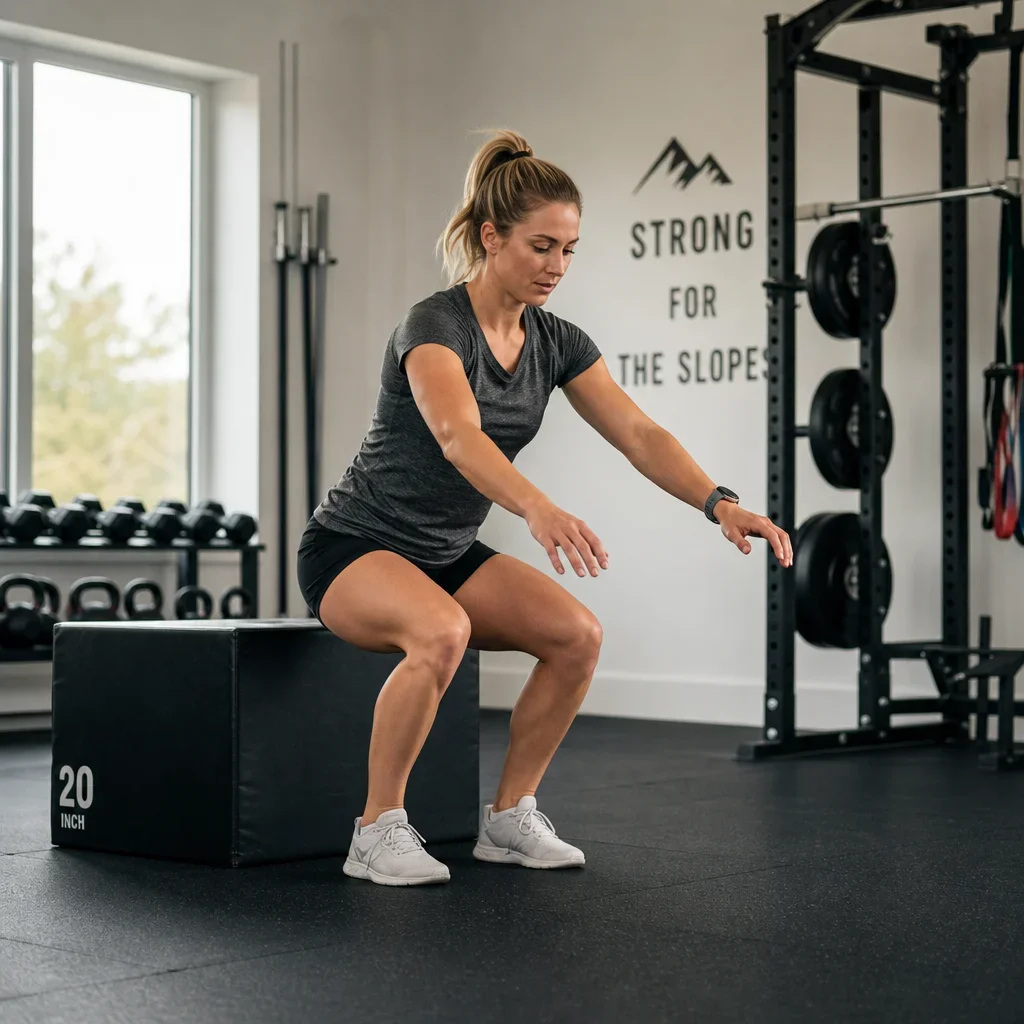
Landing and deceleration drills matter because skiing is full of force absorption and controlled stopping, especially on variable terrain . Start with low volumes of 3 to 6 reps per set and focus on quiet landings, knees tracking over feet, and stopping under control. Plyometrics come after you can already squat, lunge, and balance well.
Snap-downs teach you to get into a stable athletic stance quickly. Small jump-downs teach you to absorb force. Skater hops teach you to manage side-to-side force. Single-leg balance with reach teaches control when one leg has to react fast . If you get louder, sloppier, or less stable as the set goes on, stop the set there.
Common ski knee injuries and when to get assessed
Common ski-related knee problems include ACL injury, MCL sprain, meniscus irritation or tear, patellofemoral pain, tendon irritation, and overload flare-ups . A blog cannot diagnose which one you have, but some symptom patterns need faster assessment. Swelling after a twist, a feeling of giving way, locking, reduced range of motion, or pain severe enough to change walking all deserve a clinical exam .
Assessment is useful because it can identify movement deficits, strength gaps, mobility limits, and return-to-sport barriers that a generic program misses . If you have persistent knee pain, recurrent swelling, or a history of ACL or meniscus injury, a physiotherapy or sports medicine assessment is the safer next step.
How to help knee pain from skiing right now
The first step is to reduce aggravating load, not to push through swelling or instability . Cut back terrain difficulty, speed, jump volume, or total runs for now. Use relative rest, compression, elevation, symptom-guided mobility, and gradual reload instead of complete inactivity .
If you are wondering how to help knee pain from skiing, use the 24-hour response as a guide . Mild soreness that settles by the next day is different from swelling, limping, or pain that escalates overnight. If symptoms persist, worsen, or keep returning, get assessed instead of repeatedly testing it on the hill.
What is the best support for knees while skiing?
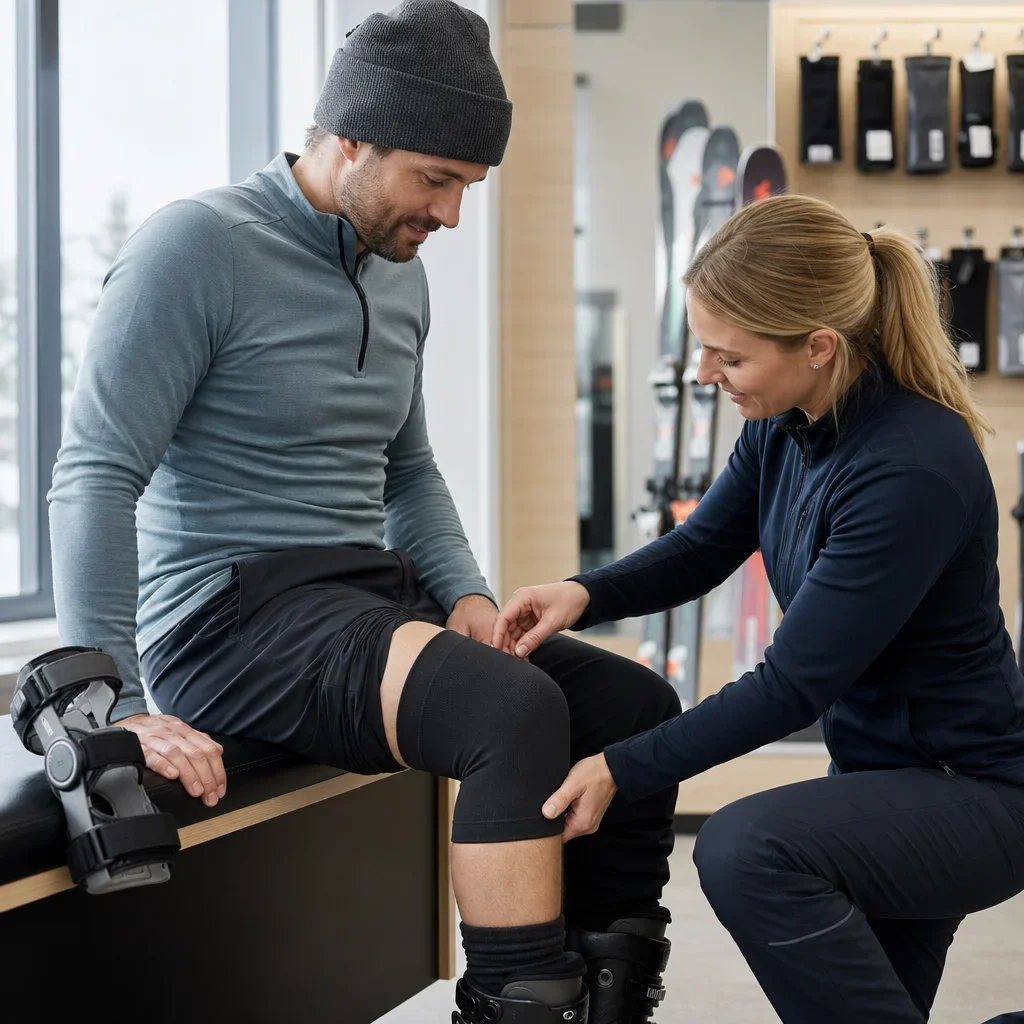
The best support for knees while skiing depends on why the knee feels vulnerable. Soft sleeves may improve comfort and warmth. Some braces may improve confidence or provide support after certain ligament injuries. Taping may help some people feel better for a session. Proper boot fit also matters because poor setup can change lower-limb mechanics .
No brace or sleeve replaces rehab, strength, and good movement control . We do not tell people a support will prevent injury. If you are considering a brace after ligament injury or surgery, get clinician input rather than buying one based on marketing.
The #1 mistake that makes bad knees worse
The biggest mistake is jumping back into skiing or high-load training before you have enough base strength and control . That is what makes bad knees worse more often than the exact exercise choice. The next mistakes are quad-only training, skipping single-leg work, ignoring ankle mobility, letting the knee collapse inward, adding too much plyometric volume too soon, and training through swelling or instability .
Ski-specific training vs general leg day
| Focus | Ski-specific training | General leg day |
|---|---|---|
| Stance tolerance | Repeated flexed stance control | Not always trained |
| Single-leg work | Central part of the plan | Sometimes added |
| Lateral control | Trained on purpose | Often minimal |
| Deceleration | Built in | Often undertrained |
| Landing mechanics | Progressed carefully | Often skipped |
| Balance and trunk control | Included each week | May be absent |
| Goal | Control force on snow | Build general strength |
Recovery, sleep, and load management during ski prep
Your knees adapt to progressive load only if recovery is good enough to support it . Hard sessions need spacing, and total training should drop when soreness, fatigue, or ski volume is climbing. Poor recovery tends to worsen form, reaction time, and knee control under fatigue .
A simple rule is to avoid stacking every hard lower-body session right beside long ski days if your knee is already sensitive . Keep sleep consistent, stay hydrated, and eat enough to support training. Recovery habits do not replace strength work, but they decide how well you can absorb it.
Printable-style ski knee checklist
Use this checklist 6 to 8 weeks before ski season :
- Warm up for 5 to 10 minutes before training
- Train 2 to 3 times per week
- Include 1 squat pattern
- Include 1 split-stance or lunge pattern
- Include 1 single-leg control drill
- Include 1 lateral hip exercise
- Include 1 calf exercise
- Include 1 core drill
- Include 1 balance drill
- Add plyometrics only after 3 to 4 weeks of strength and control work
- Keep beginner jump or landing work to 2 to 4 sets of 3 to 6 reps
- Use mobility for ankles, hips, and trunk
- Stop and reassess if swelling, giving way, locking, or sharp pain appears
- Adjust the plan if pain is worse the next day
FAQ
How do I strengthen my knees for skiing?
Build a plan around squats, split squats, step-downs, glute work, calf raises, core, balance, and later-stage landing drills . Train 2 to 3 times per week for 6 to 8 weeks before ski season .
Can you ski with weak knees?
Sometimes, yes, if symptoms are mild, stable, and the knee is not swelling, locking, or giving way . Weak knees usually reflect strength, control, or rehab gaps that should be addressed before harder skiing.
How to help knee pain from skiing?
Reduce aggravating load, avoid pushing through swelling or instability, use compression and relative rest, and reload gradually . Get assessed if pain persists or keeps returning.
What is the best support for knees while skiing?
A sleeve, tape, brace, or better boot setup may help comfort or confidence, but none replaces rehab and strength . The right option depends on the reason for the symptoms.
Why is skiing so hard on the knees?
Skiing combines knee flexion, rotational stress, edge control, deceleration, uneven terrain, and fatigue in the same sport . The knee must also respond to forces from the foot, hip, and trunk.
What is the #1 mistake that makes bad knees worse?
Doing too much too soon. Jumping back into skiing or high-load exercise without enough strength and control is the main problem .
Does skiing strengthen knees?
Not reliably on its own. Skiing can build tolerance if your knee already handles it, but it is not a substitute for structured strengthening .
When should I start training for ski season?
Start about 6 to 8 weeks before ski season . Start earlier if you are rebuilding after pain or time off.
How often should I do knee strengthening exercises before skiing?
Most recreational skiers do well with 2 to 3 sessions per week . Short, consistent work beats one big session.
Can I ski after ACL surgery?
Possibly, but return depends on your surgeon or physio clearance, strength, control, confidence, and individual testing, not a generic timeline . If you are unsure, get a return-to-sport assessment first.
If your knee still feels unstable, keeps swelling, or never quite trusts hard turns, the next step is a proper assessment. A physiotherapy or sports medicine evaluation in downtown Toronto can screen ski readiness, look at biomechanics, and build a plan that fits your knee and your season.